Tuesday, February 11, 2014

From Andrea's Kitchen - Homemade Cinnamon Rolls


On Sunday I was going to make our standard weekend breakfast, cinnamon rolls. As you already know, I made Easy French Toast on Saturday, so Sunday was going to be cinnamon roll day. However, we were out of canned cinnamon rolls! HORRORS! Then I saw a can of pizza dough in the fridge door and thought, could I make my own cinnamon rolls from pizza dough? Turns out you can!

Here's what you need: a can of pizza dough, butter, sugar, and cinnamon!


I started out with the piece of pizza dough, but it was pretty thin, so I decided to knead it a little and then roll it out to a new length and thickness. Make sure you flour your board, dough, and rolling pin!


Melt two tablespoons of butter and pour it over the dough. Rub in all the butter, going all the way to the edges, to make sure all of the dough is covered in melted butter.


To the melted butter, add about 1/4 cup of sugar. Again make sure every inch of the dough is covered. It looks like a lot, but trust me, you need it!


Then I took the cinnamon can and shook a healthy amount of cinnamon all over the sugar and butter mixture. Looks delightful, huh? And it smells amazing!


After you have all three ingredients all over the dough, start rolling, I started at the back and just rolled the dough over each other until it was one big roll of dough. Make sure it's a tight roll. And pinch the ends to try and seal everything in.


This is what it should theoretically look like!


Start cutting the rolls into about one inch pieces. 


Then place the pieces into a grease cake pan. Place a towel over the pan and let them rise for about an hour. Once they have risen, preheat the oven to 350 and bake for 13-15 minutes.


 While the rolls were rising, I started thinking, "Uh, I need something to ice the cinnamon rolls." I started to panic a little and then I started thinking. Making a cinnamon roll icing isn't far from making a cupcake icing. So, here is what I came up with for a Cream Cheese Icing: soften cream cheese (I had some left over from cupcake frosting I made the night before), powdered sugar, milk, vanilla, and butter.


 Add the soften cream cheese (I used four ounces) about a 1/2 cup of powered sugar, and two tablespoons of melted butter to a bowl. Mix on low to medium speed. Add a splash of vanilla and a big splash of milk once everything has been well combined. Mix again.


 I took a little taste test and it was a little heavy on the cream cheese so I added about another 1/4 cup or so of powered sugar and another splash of milk.


I had another test tester in the house and he approved!


Here is the end result! I will admit I over cooked them a little. They just weren't getting golden brown so I thought they needed more time. Turns out they were done about 3 minutes before I took the out of the oven. The bottoms were a little more done that I would have wanted, but the whole family (McKinley ate breakfast this time) loved them. Devoured them. Next time, I'm definitely going to stick to the baking time!


And there you have it! Homemade cinnamon rolls from a simple can of pizza dough! 

Happy Eats!

Monday, February 10, 2014

From Andrea's Kitchen - Easy French Toast


Saturday morning's are pretty typical for us. McKinley wakes up early so we wake up early. The three of us play for a couple of hours, or sometimes they play while I try to catch up on my DVR. (I'm not going to lie, sometimes I would rather just lay on the couch for about an hour before I start cooking breakfast and playing for the rest of the morning.)

This past Saturday morning wasn't all that different. However, when it came time for breakfast, I just wasn't satisfied with our normal meal.  I generally reserve Saturday's as cinnamon  roll day. I crack open a can and place them in the oven. I love how easy that breakfast is! But I wanted something different, so I decided to rummage through the cabinets, and the fridge, and decided to play around with a French toast recipe. One where I just grabbed ingredients, didn't follow a recipe, and it would give me a chance to use my new, favorite utensil. My griddle!

So what do you need for French toast? Most of you know, or already make your own, but here's what I think you need: eggs, bread, heavy whipping cream, vanilla, cinnamon, sugar, and nutmeg.


In a pie dish, I added four eggs and a rather large splash of heavy cream. And when I say a small splash, I'm saying just pour until you feel comfortable.


To the eggs and cream, I added several teaspoons of sugar, a small splash of vanilla extract, a few dashes of nutmeg, and quiet a few shakes of cinnamon. 


I put the heat on about medium/high and added a couple of tablespoons of unsalted butter.


Then I dunked the bread into that incredibly gorgeous mixture, both sides of course, and placed them in the center of the griddle.


So golden brown and delicious, no? I didn't do too much. I just placed them on the griddle, let them sit for about two minutes before I flipped, and just simply let them be. Don't mash or press. Just let them sizzle.


I piled all of them on one plate, buttering as I removed them, and then served them all at once.

For the finishing touches, I gave each one a shake of powdered sugar and a swipe with sugar-free syrup!


I was so proud of myself for just going for it and adding my own ingredients. I felt like I was throwing caution to the wind because I didn't use true measurements from someone else's recipe. And the guys loved them. Okay, Joel loved them. McKinley decided he wasn't eating that morning, and he didn't! Maybe next time!

Happy Eats!

Thursday, February 6, 2014

Mom's Southern Cooking - Cooked Apples

One of my all time favorites sides is cooked apples! I love apple anything, but this sweet and tart recipe is simply wonderful! It combines all my favorite things; apples, butter, brown sugar, sugar, and cinnamon! Doesn't that sound unbelievable? 

I remember the first time I made these for my husband. He devoured them! They have become one of his most requested sides, but always feels bad for asking because he thinks they're time consuming. They really aren't. It just takes a little time to cook them down. 

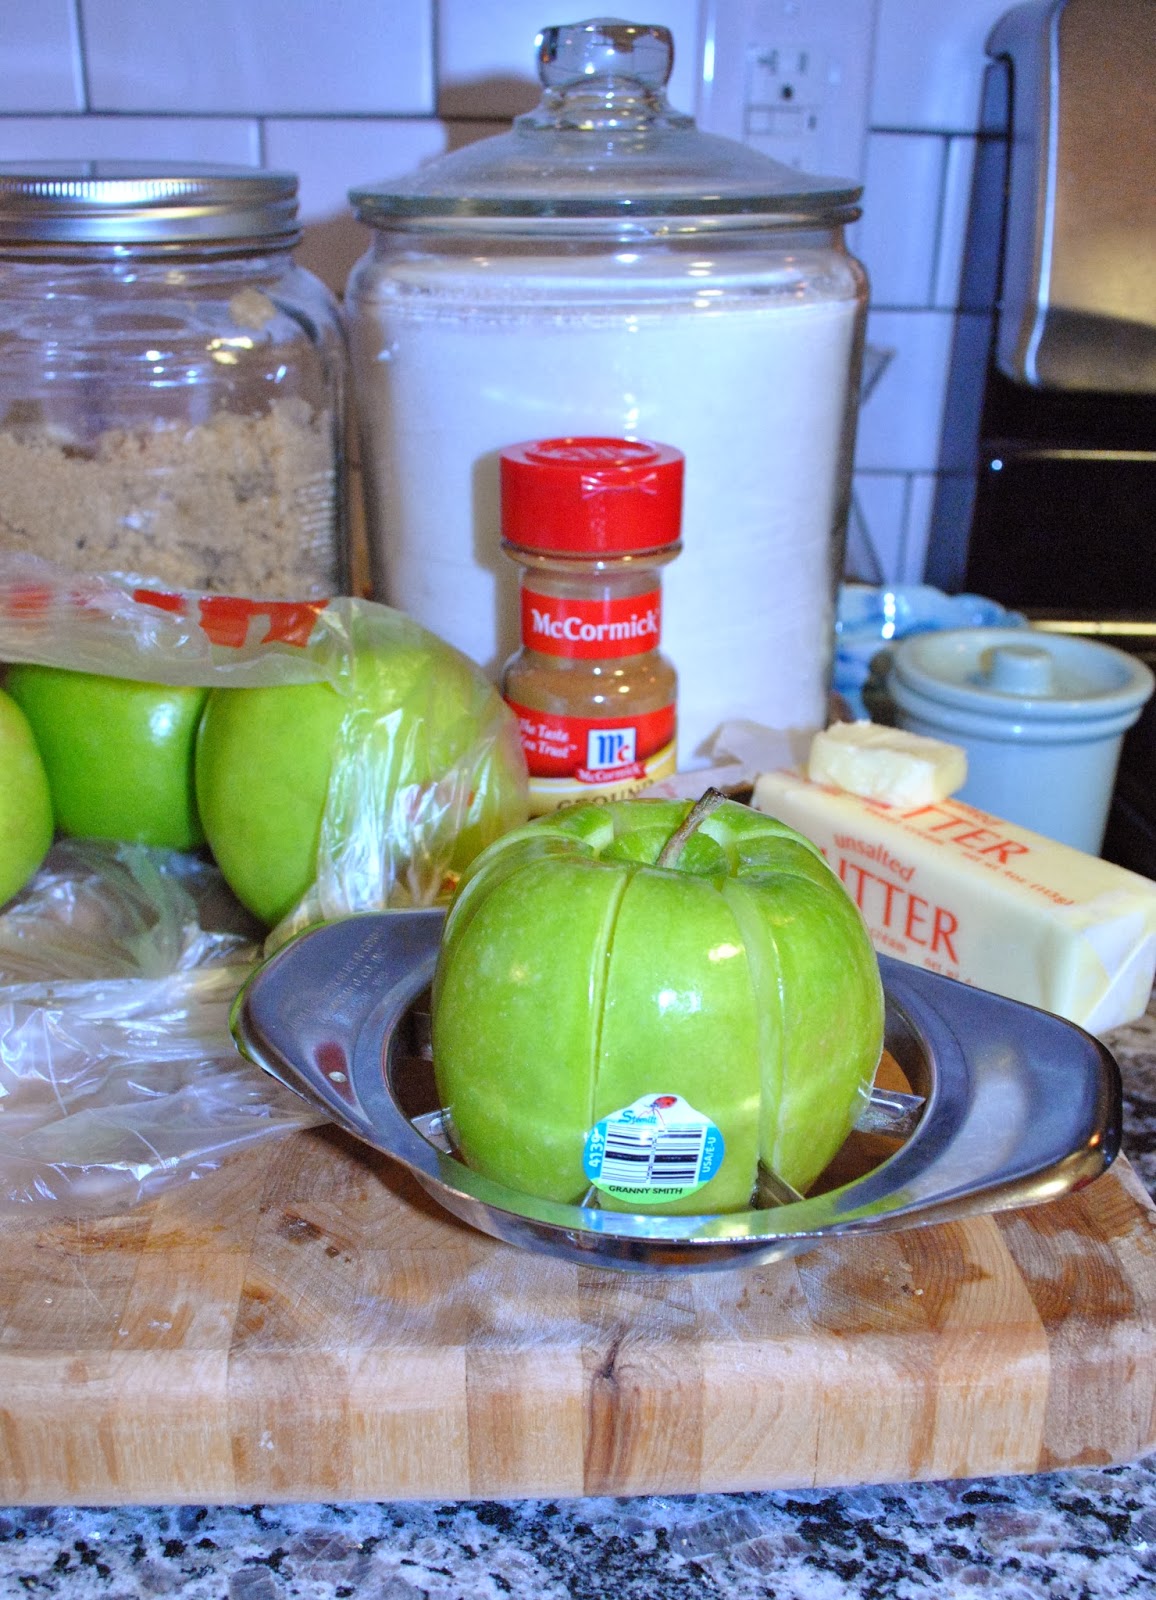
Here's what you need: apples (I use Granny Smith so that I can sweeten them to my liking), butter, brown and granulated sugar, and cinnamon.


Wash and dry your apples. Then core and slice. If you don't have a handy apple corer like this, cut them the way you normally would.


Place all your apple slices in a large sauce pot and add several tablespoons of water. Apples are already water based so you only need a little to help the cook. Cover with a lid, but allow a little steam to escape. Cook on medium.


I mentioned earlier that you needed to cook the apples down. What I really meant was that you needed to cook the apples to death! Make them mushy as seen below! Stir to make sure there aren't huge chunks of uncooked apple. Then, add about a tablespoon of butter. Stir to combine.


 This is where the good stuff comes in! Not that butter isn't a good thing. Add several teaspoons of granulated sugar, several handfuls of brown sugar, and several dashes of cinnamon. Stir to combine. Taste to see if it's sweet enough. If not, add a little more of each sugar.


And that's it! You have cooked apples! Here is the finished dinner. We had a crockpot pot roast with new potatoes and carrots. So yummy and a perfect meal for the freezing temps and foot of snow we have on the ground!


Let me know if you make this dish! I love hearing your reviews.

Next up, my Grannie's Apple Dumplings. Talk about amazing!

Happy Eats!