Showing posts with label from scratch. Show all posts

Tuesday, February 11, 2014

From Andrea's Kitchen - Homemade Cinnamon Rolls


On Sunday I was going to make our standard weekend breakfast, cinnamon rolls. As you already know, I made Easy French Toast on Saturday, so Sunday was going to be cinnamon roll day. However, we were out of canned cinnamon rolls! HORRORS! Then I saw a can of pizza dough in the fridge door and thought, could I make my own cinnamon rolls from pizza dough? Turns out you can!

Here's what you need: a can of pizza dough, butter, sugar, and cinnamon!


I started out with the piece of pizza dough, but it was pretty thin, so I decided to knead it a little and then roll it out to a new length and thickness. Make sure you flour your board, dough, and rolling pin!


Melt two tablespoons of butter and pour it over the dough. Rub in all the butter, going all the way to the edges, to make sure all of the dough is covered in melted butter.


To the melted butter, add about 1/4 cup of sugar. Again make sure every inch of the dough is covered. It looks like a lot, but trust me, you need it!


Then I took the cinnamon can and shook a healthy amount of cinnamon all over the sugar and butter mixture. Looks delightful, huh? And it smells amazing!


After you have all three ingredients all over the dough, start rolling, I started at the back and just rolled the dough over each other until it was one big roll of dough. Make sure it's a tight roll. And pinch the ends to try and seal everything in.


This is what it should theoretically look like!


Start cutting the rolls into about one inch pieces. 


Then place the pieces into a grease cake pan. Place a towel over the pan and let them rise for about an hour. Once they have risen, preheat the oven to 350 and bake for 13-15 minutes.


 While the rolls were rising, I started thinking, "Uh, I need something to ice the cinnamon rolls." I started to panic a little and then I started thinking. Making a cinnamon roll icing isn't far from making a cupcake icing. So, here is what I came up with for a Cream Cheese Icing: soften cream cheese (I had some left over from cupcake frosting I made the night before), powdered sugar, milk, vanilla, and butter.


 Add the soften cream cheese (I used four ounces) about a 1/2 cup of powered sugar, and two tablespoons of melted butter to a bowl. Mix on low to medium speed. Add a splash of vanilla and a big splash of milk once everything has been well combined. Mix again.


 I took a little taste test and it was a little heavy on the cream cheese so I added about another 1/4 cup or so of powered sugar and another splash of milk.


I had another test tester in the house and he approved!


Here is the end result! I will admit I over cooked them a little. They just weren't getting golden brown so I thought they needed more time. Turns out they were done about 3 minutes before I took the out of the oven. The bottoms were a little more done that I would have wanted, but the whole family (McKinley ate breakfast this time) loved them. Devoured them. Next time, I'm definitely going to stick to the baking time!


And there you have it! Homemade cinnamon rolls from a simple can of pizza dough! 

Happy Eats!

Wednesday, September 18, 2013

Almost Homemade Calzones - Cooking with the Pioneer Woman


Every Sunday is the same in my house. We wake up, play most of the morning, eat some form of breakfast and then I start making my weekly grocery store list. We come up with menu for the week and it's generally planned by browsing through cookbooks, old episodes of show favorites on Food Network or old standbys that we love. I've really been trying to change things up in the kitchen and making new meals. Some of them are easy, some are hard. Some are one pot creations and some use every pot and bowl in the house! And my kitchen has been a wreck night after night!
 
This past Sunday was nothing different. The scene was making homemade pizza dough for use in homemade calzones from, you guessed it, The Pioneer Woman! I didn't get a chance to actually make the crust earlier in the day for Sunday dinner, so I was making it for dinner on Monday. So easy, right? Well, it was easy but it so didn't turn out like it was supposed to! I didn't create a ball in the mixer, nor did it create a ball when trying to form it by hand. Instead, I had a substance that resembled something along the lines of paste that literally stretched from one hand to the next, creating a cobweb effect along the way! I placed it in an oiled bowl, as suggested, threw that in the refridgerator and when I opened the door the next day, it had grown three times its size!! Not sure if this is even useable or edible! Guess I will try again some other time. Side note, I had the most amazing sous chef!
 
So here's what I did. First, I added warm water and yeast to a bowl and let that sit a spell.
 
 
Then in another bowl, I added my dry ingredients and mixed them together with olive oil until just combined.

 
The I added the water and yeast mixture, slowly, into the mixer with the other ingredients. (The green spoonula you see is one of McKinley's. He was "helping mama".)


At this point, it was supposed to start coming together and the dough should have formed a ball. 

 
Here my sous chef is keeping an eye on things to make sure the dough turns out correctly.


He's helping the mixer along as I'm telling him not to put the spoon in the bowl while the mixer is going!


And here is the unformed dough that is literally paste!


So the next day, as in Monday night of the calzone dinner, my husband runs to the store for dinner rolls. (That's what Ree used during the episode that she made calzones. I wanted to attempt the pizza dough to make it more authentic.) Here is how you make homemade calzones!
 
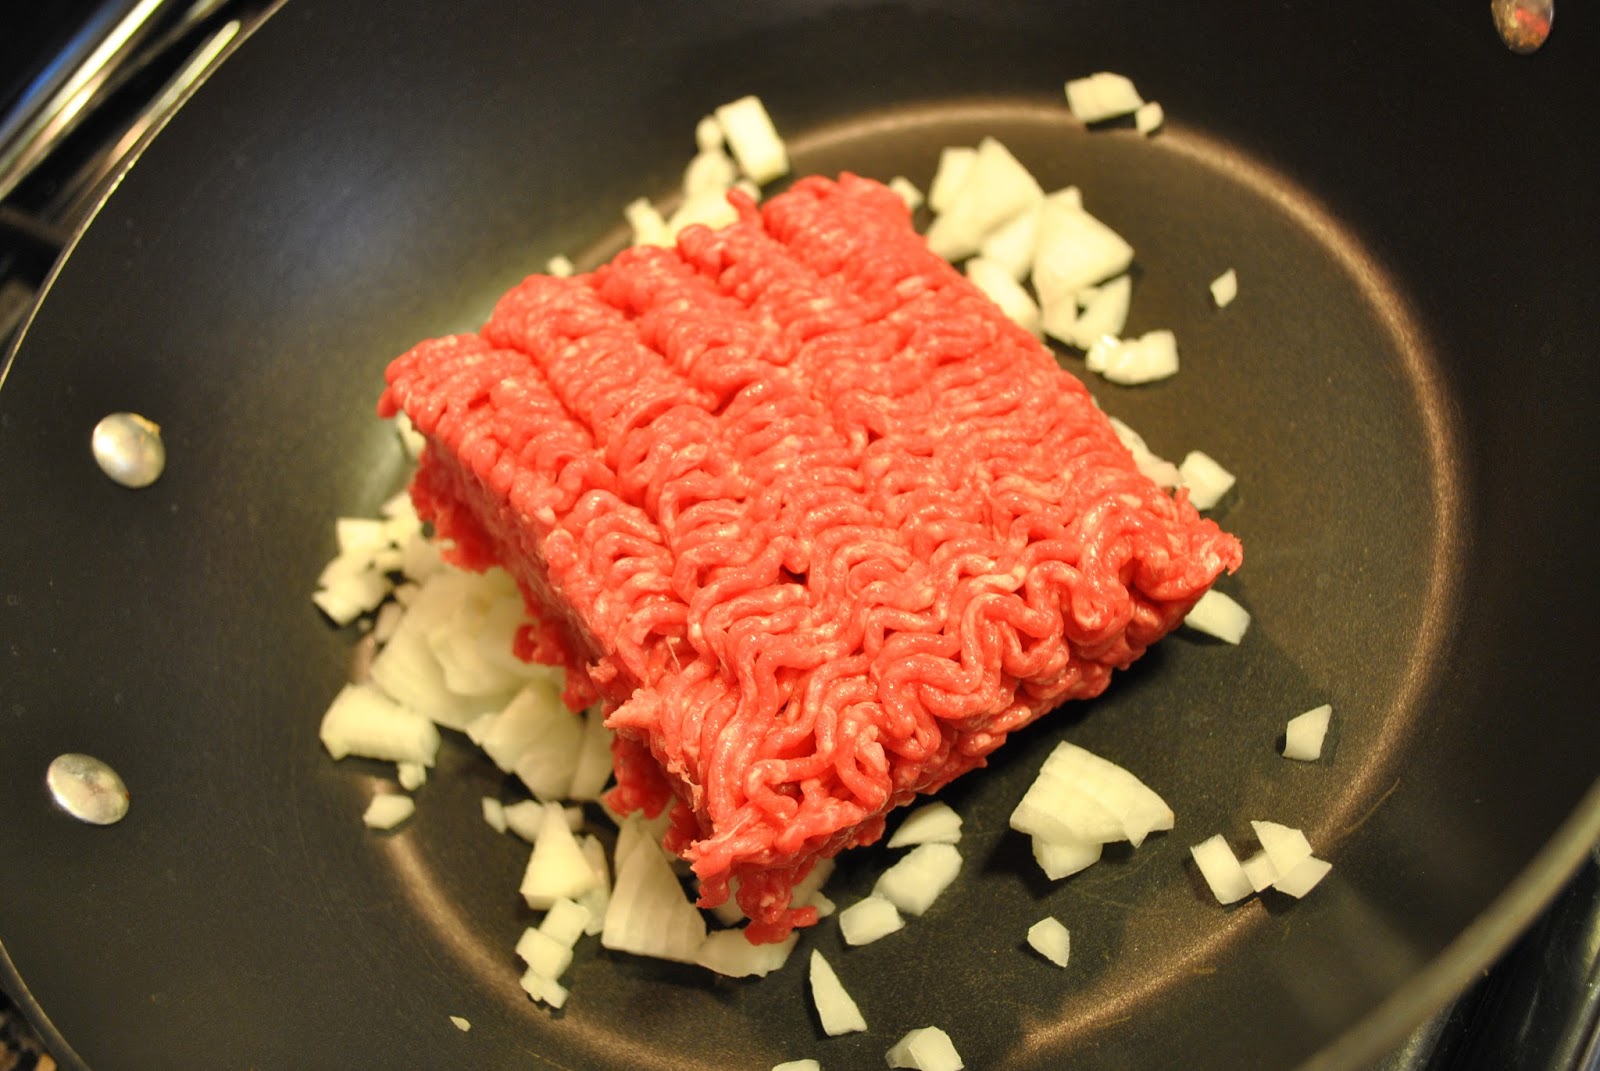
Brown some hamburger meat along with chopped onion.
 
 
While the hamburger is browning you better get to grating your cheese! You need Mozzarella and Monterrey Jack. And, after the meat has browned, at some tomatoes. The recipe called for Ro-Tel tomatoes and chilies, but I was thinking that McKinley might eat it, and didn't want anything too spicy. I added diced tomatoes instead.

 
Add your grated cheese to Ricotta and mix together.  

 
Add the cheese mixture to the cooled meat mixture. Set aside.

 
Now, this is when I would have used my "from scratch" pizza dough but that didn't happen. Enter the dinner rolls purchased at the grocery store! I started this process by flouring my surface, dinner roll and rolling pin.
 

Start rolling out each roll, flipping sides, rotating and flouring when needed.


Fill each calzone with some of the meat mixture. As you can see, I have added pepperoni as well. The recipe called for hamburger and breakfast sausage, but opted for pepperoni.
 

Fold each half over the other and press closed with a fork. As you can see, mine are very thin. I'm thinking of using a larger dough of some sort next time. Maybe the from scratch pizza dough.....


Place each calzone on a baking sheet that's been lined with parchment paper. Helps for easier cleanup if some of the filling oozes out. Drizzle with olive oil and brush each one to ensure it's completely covered. Then bake!


Serve along side your favorite side. We had a salad, with our homegrown cherry tomatoes. For day two, I served up fries. Still haven't attempted her homemade french fries. They were so good and differently a recipe to experiment with in different fillings!

 
Want the ends and outs on the pizza crust and calzone recipe? Check out the pizza crust here and notice how awesome hers look! See the calzone recipe here!  


Wednesday, September 4, 2013

40 Before 40 - Make a Pie Crust from Scratch


As I continue to explore the world of homemade anything, I set my sights on making a pie crust from scratch this weekend. What better time to eat any pie than over a holiday weekend, right?. This pie was peach. And a new crust recipe, not only for me, but for my mom. We decided to go with The Pioneer Woman's "Perfect Pie Crust". And we didn't go wrong!
 
The steps are so easy, and honestly, a from scratch pie crust isn't all the taunting. Joel asked me if it would be easier to just buy one from the store, and yes it would be, but I told him that if we were to ever live on a ranch in the middle of nowhere, I would know how to make a pie crust. He said, you still have to go to the store for the ingredients. That guy....
 
These ingredients were a must in order to get started!
 
 
But what you really needed were these...
 
 
Then you add these to the bowl. Flour and shortening.
 

Then you use one of these to cut the shortening through the flour.

 
Then add ice cold water to the flour shortening mixture that now has one beaten egg.

 
You add vinegar to the mixture and then stir it all together.

 
Your dough should look like this.
 
 
From there, split the dough in half, place each half into ziploc bags and slightly flatten then before you chill. Apparently, it makes for easier rolling than starting from a round piece of dough.


Now for the filling.  You need three pounds of peaches, some lemon zest and juice. (Make sure you wash before use!)

 
Peel and slice your peaches. Add to a bowl along with the zest, juice, sugar, flour and nutmeg.


Now, back to the crust. Take the dough out of the fridge and start rolling one at a time. Make sure to flour the surface, the dough and the rolling pin. Start in the center and roll out. Make sure to turn it as you roll and flip it over.


And, to transfer the crust to the pan, roll it around the pin. So much easier than picking it up and trying to make it....
 
 
Once the crust is in the pan, form the crust within the pan and remove all the excess dough from around the bottom of the lip.

 
Fill the crust with the filling.


Repeat the earlier step of rolling out the dough and around the pin. Place over the filling.

 
Again, remove the excess dough and crimp with a fork. (I haven't mastered the fluting effect but will continue to work on it!)


And what pie crust top wouldn't be complete without the signature peach cutout! 


And it's peach pie time!!

 
The recipe made three crusts so I whipped up a butterscotch filling for the third crust. And, I made the meringue topping as well! I can't wait to dig in!
 
 
That's it! I am so happy with how both pies turned out. And, I'm so proud of myself for doing it! Number eight is now complete! And, that's another segment of Cooking with The Pioneer Woman!